 (Image via
Jumping into the world of do-it-yourself home improvement can feel like a huge step, but it doesn't have to be intimidating. With a little guidance and the right tools, you can transform your living space, add value to your home, and gain a tremendous sense of accomplishment. This guide is designed for beginners who are comfortable with tech and ready to tackle some rewarding projects that will make a real difference in their daily lives.
Getting Started: Your Modern DIY Toolkit
Before you start tearing down walls (we won't be doing that today, don't worry), it's essential to have a solid set of basic tools. As a tech-savvy individual, you'll appreciate how modern tools can make jobs easier, faster, and more precise.
The Essentials:
- Cordless Drill/Driver: This is the workhorse of any DIY toolkit. A good 18V or 20V model will handle most tasks, from hanging shelves to assembling furniture. Look for one with a brushless motor for longer life and better performance.
- Laser Level: Forget trying to balance a bubble level while marking a wall. A self-leveling laser level projects a perfectly straight line across any surface. It's a game-changer for hanging pictures, installing shelves, or painting straight lines.
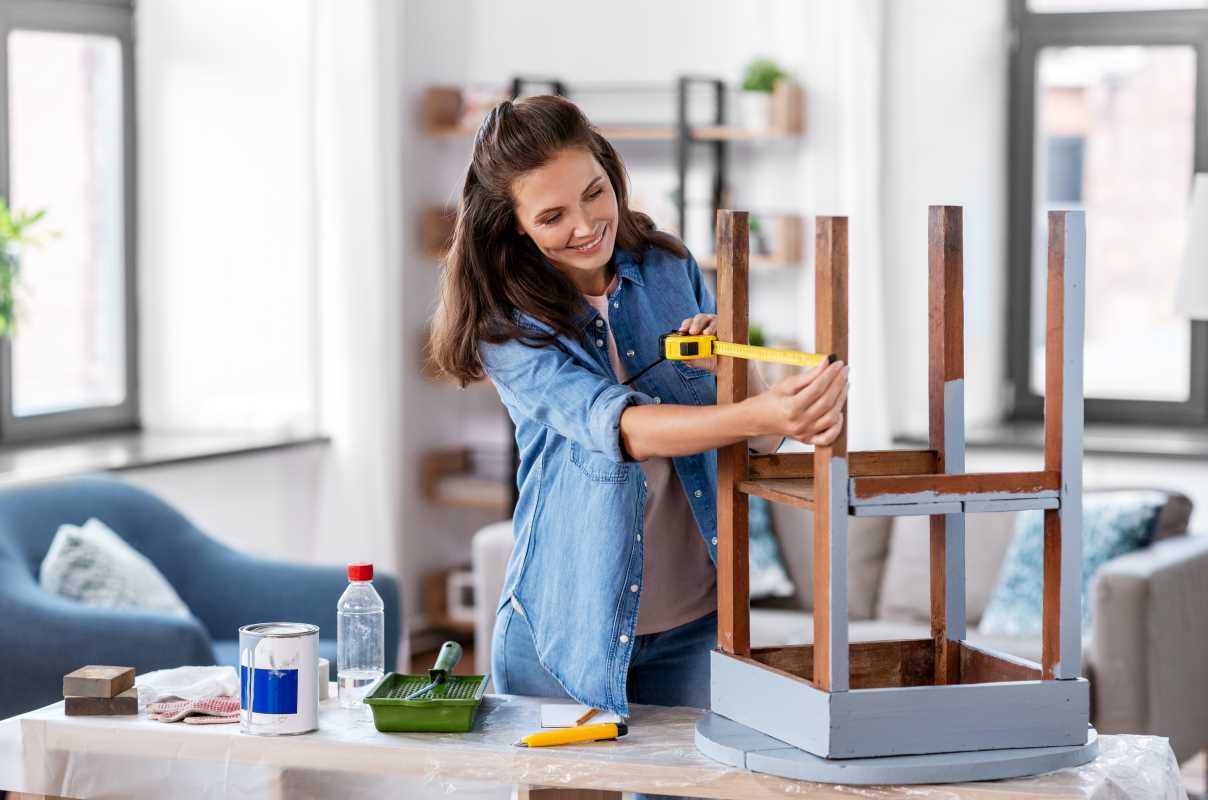
- Digital Tape Measure: While a classic tape measure works fine, a digital one offers greater accuracy and can store measurements. Some even have Bluetooth connectivity to send measurements directly to an app on your phone, helping you plan projects with precision.
- Stud Finder: This little device is crucial for locating the wooden studs behind your drywall. You need to anchor heavy items like TVs and large shelves into studs for safety. Modern stud finders can also detect wiring and pipes.
- Basic Hand Tools: Don't forget the classics: a hammer, a set of screwdrivers, pliers, an adjustable wrench, and a utility knife.
Safety First:
Always have safety glasses, work gloves, and a dust mask on hand. Home improvement should improve your home, not your relationship with the local emergency room.
Project 1: A Smart and Stylish Paint Job
Painting is one of the most impactful and budget-friendly DIY projects. A fresh coat of paint can completely change the mood of a room.
Why it's a great beginner project: It's low-risk. If you make a mistake, you can simply paint over it. It teaches you valuable skills like preparation and patience.
The Tech-Friendly Approach:
- Visualize with Apps: Before you buy a single can of paint, use an app like Sherwin-Williams' ColorSnap or Behr's ColorSmart. These apps use augmented reality to let you "paint" your walls through your phone's camera, giving you a preview of how different colors will look in your space.
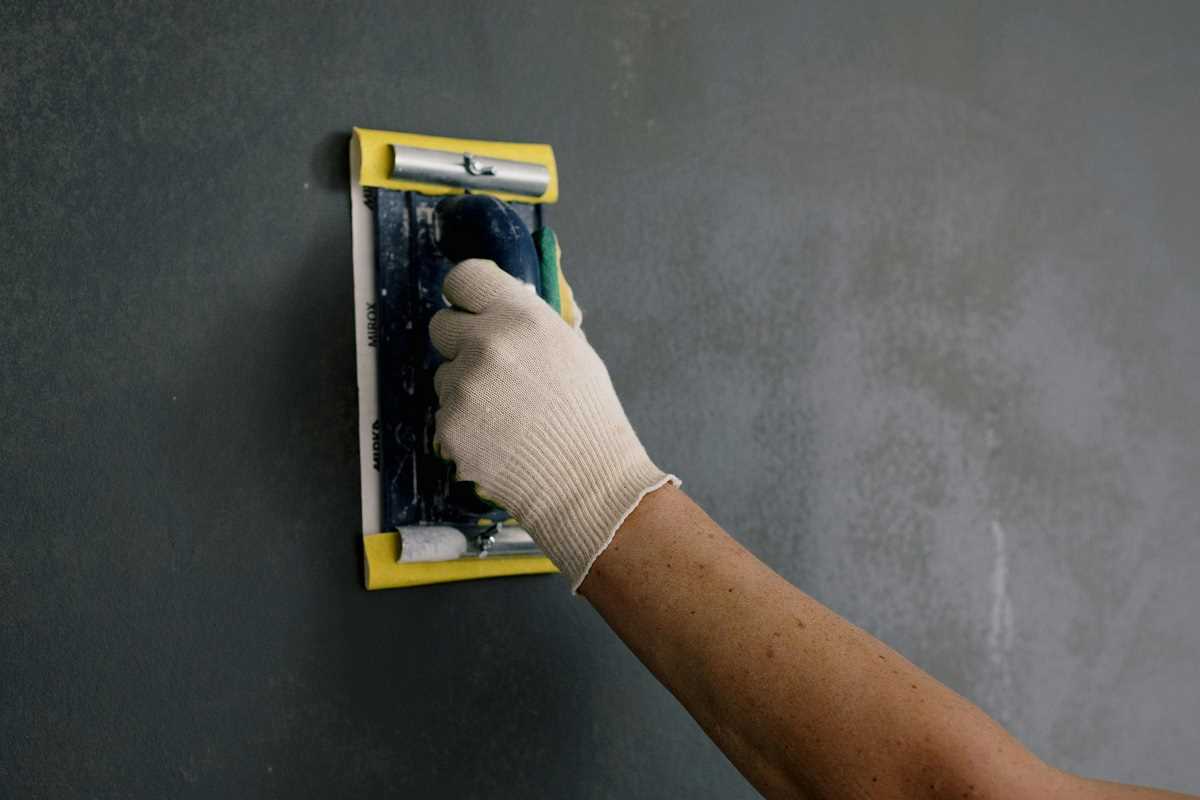
- Preparation is Key: This is the most important step. Clean your walls with a simple soap and water solution to remove any dust or grime. Fill any small holes or cracks with spackle. Once it's dry, sand it smooth. Use painter's tape to protect your trim, baseboards, and ceiling edges. Lay down drop cloths to protect your floors and furniture.
- Choose Your Paint: Opt for a high-quality "paint and primer in one" product. This will save you a step and often provides better coverage. For high-traffic areas like kitchens and hallways, a satin or semi-gloss finish is durable and easy to clean. For bedrooms and living rooms, an eggshell or matte finish offers a softer, more modern look.
- Painting Technique: Use a 2-inch angled brush to "cut in" — this means painting along the edges of the tape and in the corners where a roller can't reach. Then, use a roller for the large, flat surfaces. Roll in a "W" pattern to ensure even coverage and avoid lines. Apply a second coat for a professional, uniform finish.
- Smart Lighting Integration: Once the paint is dry, consider upgrading your light switches to smart dimmer switches. Paired with a smart home hub like Amazon Alexa or Google Home, you can control your lights with your voice and set moods that complement your new wall color.
Project 2: Upgrade Your Cabinet Hardware
Tired of your kitchen or bathroom cabinets but don't have the budget for a full renovation? Swapping out the old knobs and pulls is an incredibly simple project that delivers a surprisingly dramatic update.
Why it's a great beginner project: It requires minimal tools and can be completed in an afternoon.
The Tech-Friendly Approach:
- Measure and Source: Carefully measure the distance between the screw holes on your existing pulls. This is called the "center-to-center" measurement. Use this measurement to find new hardware that will fit the existing holes, saving you from having to drill new ones. There are countless online retailers offering every style imaginable.
- Use a Cabinet Hardware Jig: If you are installing handles on a cabinet that only has knobs (meaning you need to drill a second hole), a cabinet hardware jig is your best friend. This adjustable template ensures that you drill perfectly aligned holes on every single door and drawer, giving you a clean, professional result.
- The Process: Simply unscrew the old hardware from the inside of the cabinet door or drawer. Give the surface a quick clean. Then, screw in your new hardware. It's that easy.
- Go Keyless: For an extra tech touch, consider adding smart locks to a few key cabinets where you might store valuables or cleaning supplies you want to keep away from children. These can be unlocked via an app, a keypad, or even biometrics.
Project 3: Install Smart Under-Cabinet Lighting
Under-cabinet lighting is a feature that feels luxurious but is surprisingly easy to install yourself. It improves visibility on your countertops, adds ambiance, and makes your kitchen look more high-end.
Why it's a great beginner project: Modern LED light strips are designed for DIY installation, often requiring no electrical work.
The Tech-Friendly Approach:
- Choose Your Lights: The easiest option is a set of peel-and-stick LED light strips. Look for a smart kit that comes with a power adapter and a Wi-Fi controller. This will allow you to control the lights from your phone or with voice commands. You can change the color, dim the brightness, and set schedules.
- Plan Your Layout: Measure the underside of your cabinets to determine how much lighting you'll need. Plan a path for the light strips and the small power cord. The goal is to hide the strips and wires from view as much as possible.
- Installation: Clean the underside of your cabinets thoroughly so the adhesive will stick properly. Peel the backing off the light strip and press it firmly into place. Connect the strips to the Wi-Fi controller and plug it into a nearby outlet. Use small adhesive clips to manage the power cord and keep it tucked away.
- Sync and Automate: Connect the lights to your Wi-Fi network using the manufacturer's app. From there, you can link them to your smart home ecosystem. Set up routines like "Good Morning," which turns on your coffee maker and your under-cabinet lights to a soft glow. Or, have them turn on automatically when you walk into the kitchen by using a smart motion sensor.
Project 4: Boost Your Curb Appeal with a Smart Mailbox
Your mailbox is one of the first things people see. An old, rusted mailbox can make your whole property look neglected. Upgrading it is a simple fix.
Why it's a great beginner project: It's a straightforward outdoor project that adds instant polish to your home's exterior.
The Tech-Friendly Approach:
- The Basic Upgrade: If your existing post is in good shape, you might only need to replace the mailbox itself. This usually just involves a few screws. If the post also needs replacing, you may need to dig a new hole and set the post in concrete for stability.
- A Fresh Coat of Paint: Sometimes, all a tired-looking mailbox needs is a good sanding and a coat of spray paint designed for metal and outdoor use.
- The Smart Upgrade: Take it a step further by installing a smart mailbox sensor. These small, battery-powered devices attach inside your mailbox and send a notification to your phone whenever the mailbox door is opened. You'll know the second your mail or a package has been delivered, increasing security and convenience. Some models can even detect motion and temperature changes. It’s a simple, effective way to integrate smart tech into your daily routine.
By starting with these manageable projects, you'll build confidence and skills that will prepare you for more complex home improvement tasks in the future. Embrace the process, use the tech available to you, and enjoy the satisfaction of creating a smarter, more beautiful space with your own two hands.